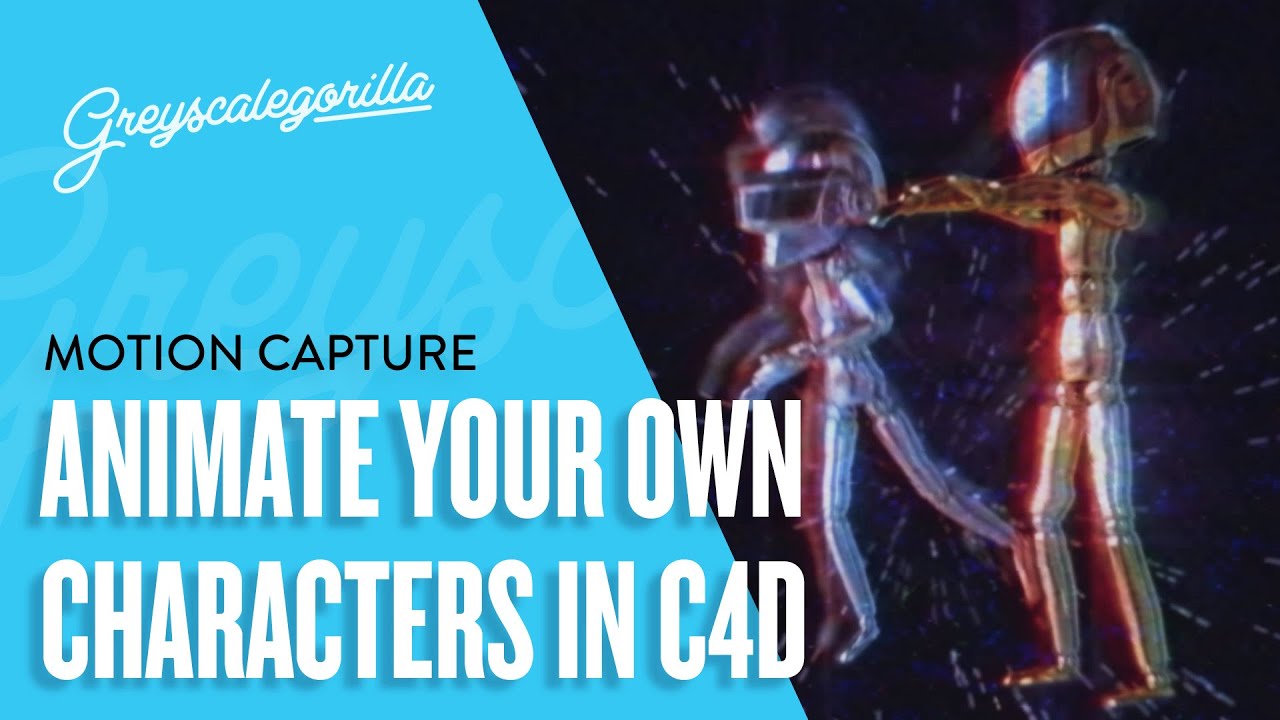
In the world of 3D animation, integrating your own characters with motion capture (mocap) data can enhance storytelling and visual appeal significantly. Cinema 4D provides a robust platform for such creative endeavors, allowing animators to bring their unique designs to life through the intricate dance of motion capture technology. In this tutorial, we’ll guide you step-by-step on how to bind your own character to motion capture data, ensuring your characters perform dynamic movements seamlessly.
Understanding Motion Capture Data
Motion capture technology captures the movements of real actors and translates those movements into a format that can be used to animate digital characters. For those looking to integrate their custom character designs into this pipeline, it’s crucial to understand the types of motion capture (mocap) data available. The two primary types we’ll explore in this tutorial are:
- FBX Data with Pose: This is the simpler type of motion capture data where a rigid pose is already established at the initial frame.
- FBX Data without Pose: This involves complex movements and requires additional steps to align the character’s rig accurately with the mocap data.
Getting Started: Preparing Your Character
Before diving into the rigging process, the following steps will help set up your character properly:
- Choose Your Character: Begin with a character model that closely resembles typical humanoid proportions. While different character shapes can work, uniformity helps simplify the rigging process.
- Open Your Character in Cinema 4D: Import your character model into Cinema 4D and verify that it’s scaled correctly. Hit
Cto convert your object to an editable polygon, allowing you to manipulate the rig.
Binding Your Character to Motion Capture Data
Let’s proceed to bind the character to the mocap data:
Binding with FBX Data Having a Pose
- Select Your Character: Once you have your character imported and ready, highlight it in the Object Manager.
- Open Character Hierarchy: Click
Cwhile the character is highlighted to unfold its hierarchy, revealing joints and bones. - Align the Joints: Adjust bones to align closely with your character model. For instance, rotate the leg joints to match the thighs, and position the arms to be as symmetrical as possible.
- Connect Geometry: Select all geometry that forms your character. Right-click to select ‘Connect Objects’ to combine them into a single mesh, which helps in the binding process.
- Bind to Joints: With the joints selected, hold
Commandand select your character mesh. Go toCharacter>Commands>Bindto establish the connection. - Preview Animation: Hit play to see your character animated with the mocap data. If successful, your character should now mimic the specified movements.
Binding with FBX Data Lacking a Pose
For mocap data without an established initial pose, the process is slightly more complex:
- Create a Setup: Bring your character into position relative to the joint setup. Start by focusing on the pelvis, aligning it as closely as possible to provide a good base.
- Adjust Joints: Similar to the first process, manipulate each joint to correctly position the character’s limbs based on the motion capture data. Ensure body parts (arms, legs, etc.) do not bend in unnatural ways.
- Binding Process: Follow the same steps as before; ensure to connect all children and bind the geometry to the complete joint chain.
- Check Alignment: Adjust if necessary while playing back the animation to ensure fluid movement and proper deformation of your character during motion.
Enhancing Your Animation
Once your character is successfully bound and animated, there are several creative enhancements you can implement:
- Using Additional Assets: Experiment with adding items such as helmets or props using predatory functions in Cinema 4D. Simply parent these to the relevant joint to ensure they move as part of the character.
- Layering Animation: You can enhance scenes by incorporating multiple characters and copying or pasting motion data into unique scenes. This method adds richness to your animation.
- Compositing Techniques: Finally, composite your rendered scenes in After Effects. Adding motion blur, glow effects, and VHS textures can dramatically increase the visual appeal of your animations.
Conclusion
Bringing your characters to life through motion capture is a rewarding journey that combines art and technology. Whether you’re using a simple rigging method for foundational animations or delving into more complex setups, the core principle lies in experimentation and practice.
As you embark on integrating your custom designs with mocap data, remember that imperfections are part of the learning curve. Each iteration you create will enhance your skills and broaden your understanding of character animation in Cinema 4D.
Discover the capabilities of your character animation today and start crafting unique animated works that resonate with audiences! For further learning, don’t hesitate to explore other resources and tutorials on character rigging, as mastering these skills can elevate your motion graphics to new heights.

